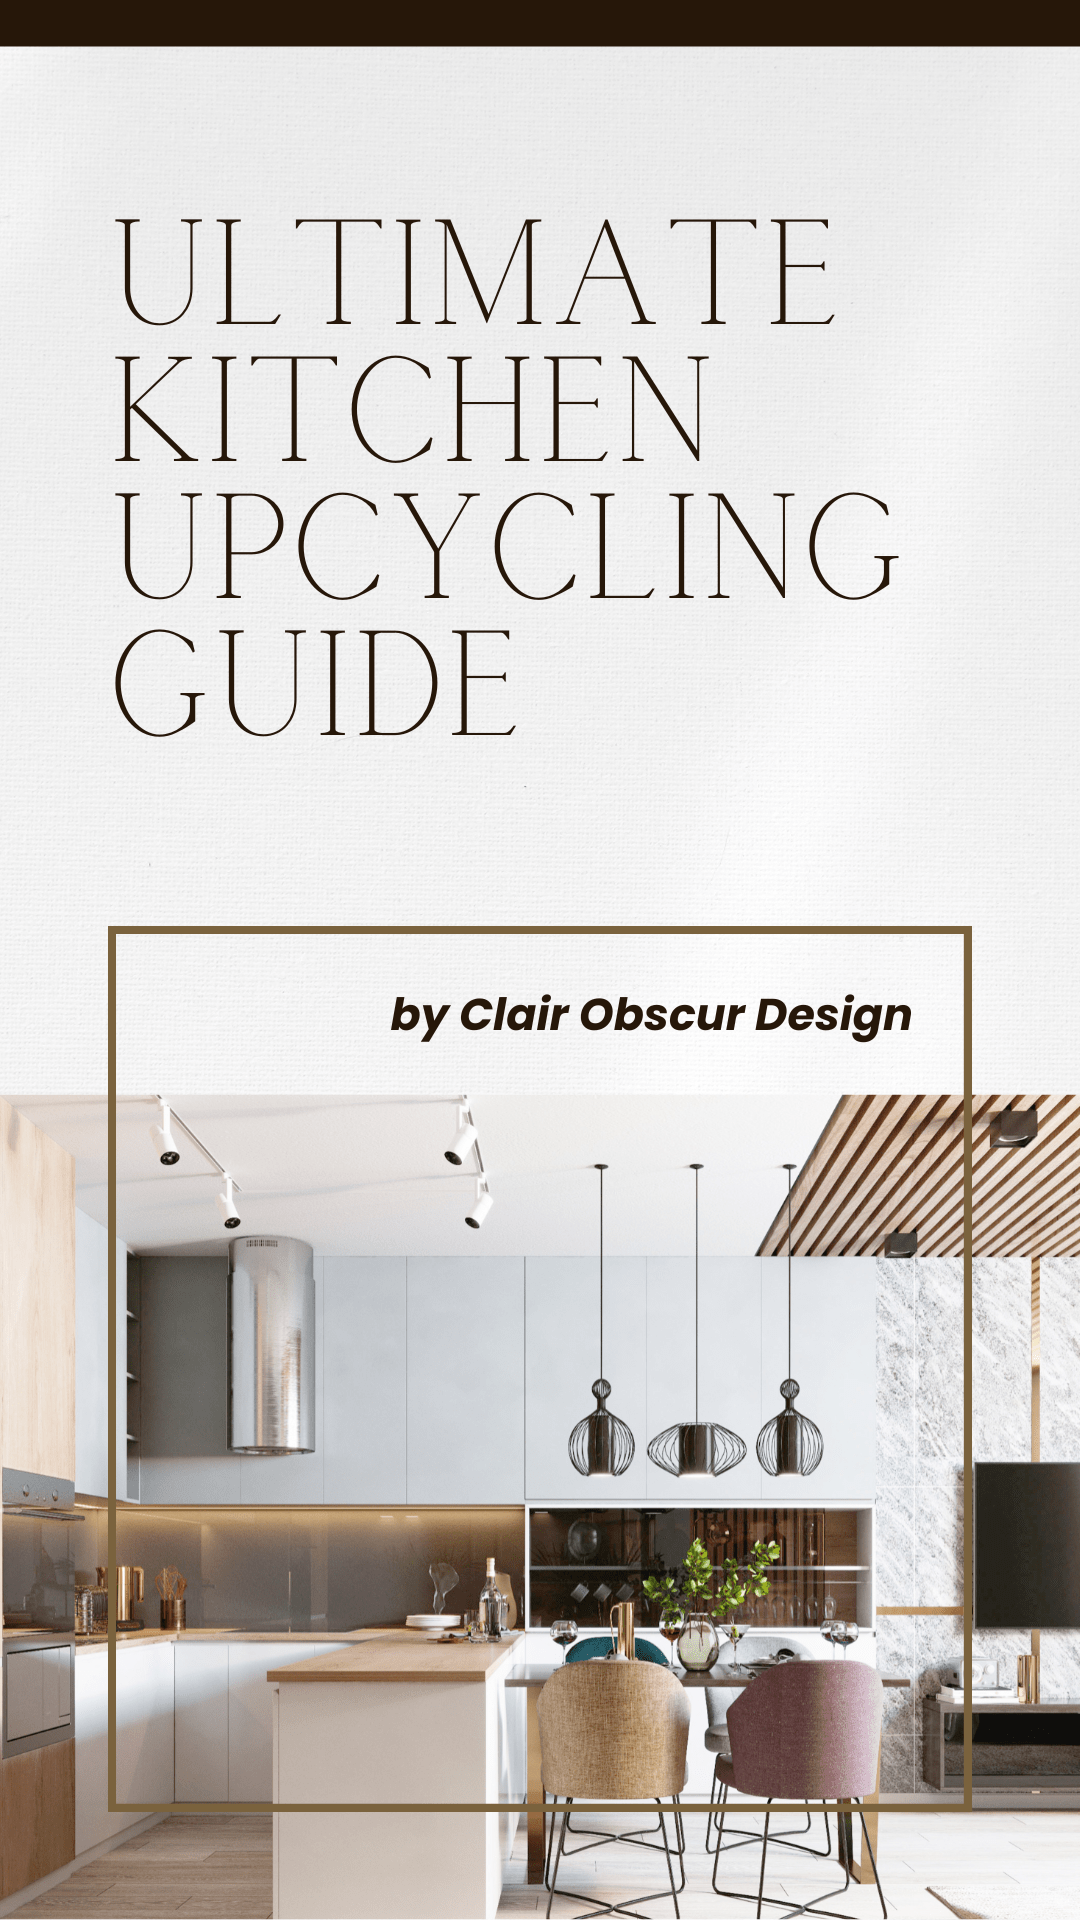
TRANSFORMING YOUR OLD KITCHEN
A DIY GUIDE TO PAINTING AND ADDING MOULDING TO CABINET DOORS

Revitalizing your old kitchen doesn’t always require a full renovation. With a creative touch and some do-it-yourself spirit, you can breathe new life into your space.
In this blog post, we’ll explore the transformative power of painting and adding moulding to your old kitchen. These budget-friendly and relatively simple techniques can make a significant impact, giving your kitchen a fresh and stylish makeover.
Step 1: Planning & Preparation

Design Vision
Before diving into the creative process, it’s essential to plan and prepare your kitchen for the upcoming transformation. Start by creating a color scheme and design vision. Consider factors like the size of your kitchen, the amount of natural light it receives, and your personal style preferences.
Gather Materials
Once you have a plan in place, gather the necessary materials, including paint, primer, moulding, sandpaper, painter’s tape, brushes, and a saw for cutting the moulding to size. Clear out the kitchen space by removing furniture, appliances, and any items that might get in the way.
Step 2: Adding Moulding To Cabinets

Moulding Style
Moulding is an excellent way to add architectural interest and sophistication to your kitchen cabinets. First, you need to choose the style of moulding you want to recreat.
Here’s a list of some existing styles:
1. Curved or Arched Style:
Incorporates curves or arches in the design, adding a touch of traditional.
2. Shaker Moulding:
Simple and clean lines characterize Shaker-style moulding, making it a
versatile choice for various kitchen designs.
3. Beaded Moulding:
Beadboard (or “Beaded”) cabinet door styles are a great way to add a
cottagey or rustic feel to your kitchen space.
Steps for Installing Molding
Follow these steps to install molding:
a. Before adding molding to your cabinet doors, clean them with a degreaser like TSP.
b. Sand the doors with 220-grit sandpaper to help the paint adhere better.
c. Measure and mark where you want to place the molding on the cabinet doors.
d. Cut the molding to size using a miter saw, ensuring clean and precise edges.
e. Secure the molding in place by applying a small amount of wood glue to the back and pressing it onto the cabinet door. Use finishing nails to hold the molding in place, making sure they are countersunk. Alternatively, you can use construction adhesive and hot glue for additional security.
f. Fill any gaps or holes with wood filler and sand the molding for a seamless look.
g. Caulk all cracks and joints for a smooth, finished appearance.
Step 3: Painting The Cabinets

What Is Your Color Palette Style?
Experiment with bold colors or stick to classic neutrals, depending on your style and the overall aesthetic you’re aiming for. Painting your kitchen cabinets can instantly refresh the entire space.
Steps for Painting Cabinets
Follow these steps for a smooth and professional-looking finish:
a. Apply a primer to create a smooth base for the paint. (Benjamin Moore’s STIX is the best primer for melamine, while Fresh Start High-Hiding all-purpose primer is ideal for sealing knots in wood cabinets.)
b. There’s no need to use a spray gun; a short-nap microfiber roller provides an excellent finish. Avoid foam rollers, as they create bubbles in the paint.
c. It’s crucial to wait 24 hours between coats and to sand lightly after priming and between coats with 220-grit sandpaper.
d. Consider using a high-quality paint with a durable finish for longlasting results, such as Benjamin Moore Advance semi-gloss or gloss paint.
Watch our teaching video HERE!
Step 4: Painting The Walls

Complement – Coordinate – Color
Complement your newly painted cabinets and moulding by refreshing the walls with a coordinating color.
Before you start, patch any holes and sand the walls for a smooth finish. Use painter’s tape to protect cabinets and other surfaces while you work.
Step 5: Finishing Touches

Extra touch of style
Once the paint has dried, reassemble your kitchen by attaching cabinet doors and hardware. Consider adding new knobs or handles for an extra touch of style.
Reintroduce appliances and furniture, and take a step back to admire your transformed space.
A coat of paint can do wonders. It can transform a room, refresh your spirit, and give a space a new identity.
Nina Campbell

By combining the power of paint and the elegance of moulding, you can breathe new life into your old kitchen without breaking the bank.
This DIY project allows you to express your creativity and achieve a customized look that suits your taste and style preferences.
With a bit of planning and effort, your kitchen can become a stylish and inviting space for cooking, dining, and making lasting memories.
Ready to turn your kitchen dreams into reality? Look no further – we’ve got you covered!
Get in touch today and let’s start crafting the kitchen you’ve always wanted


