
HOW TO CREATE AN EPOXY MARBLE IMITATION ON A COUNTERTOP:
DIY Guide on how to transform your old laminate countertop.

Si vous cherchez à moderniser votre cuisine ou votre salle de bain sans vous ruiner, pensez à donner à votre comptoir en mélamine une superbe cure de jouvence avec de l’époxy et un design imitation marbre.
Dans ce guide étape par étape, nous vous expliquerons
le processus de transformation de votre comptoir en une surface luxueuse inspirée du marbre à l’aide de résine époxy.
Step 1: Choose the Right Material
LE MEILLEUR ÉPOXY DU MARCHÉ
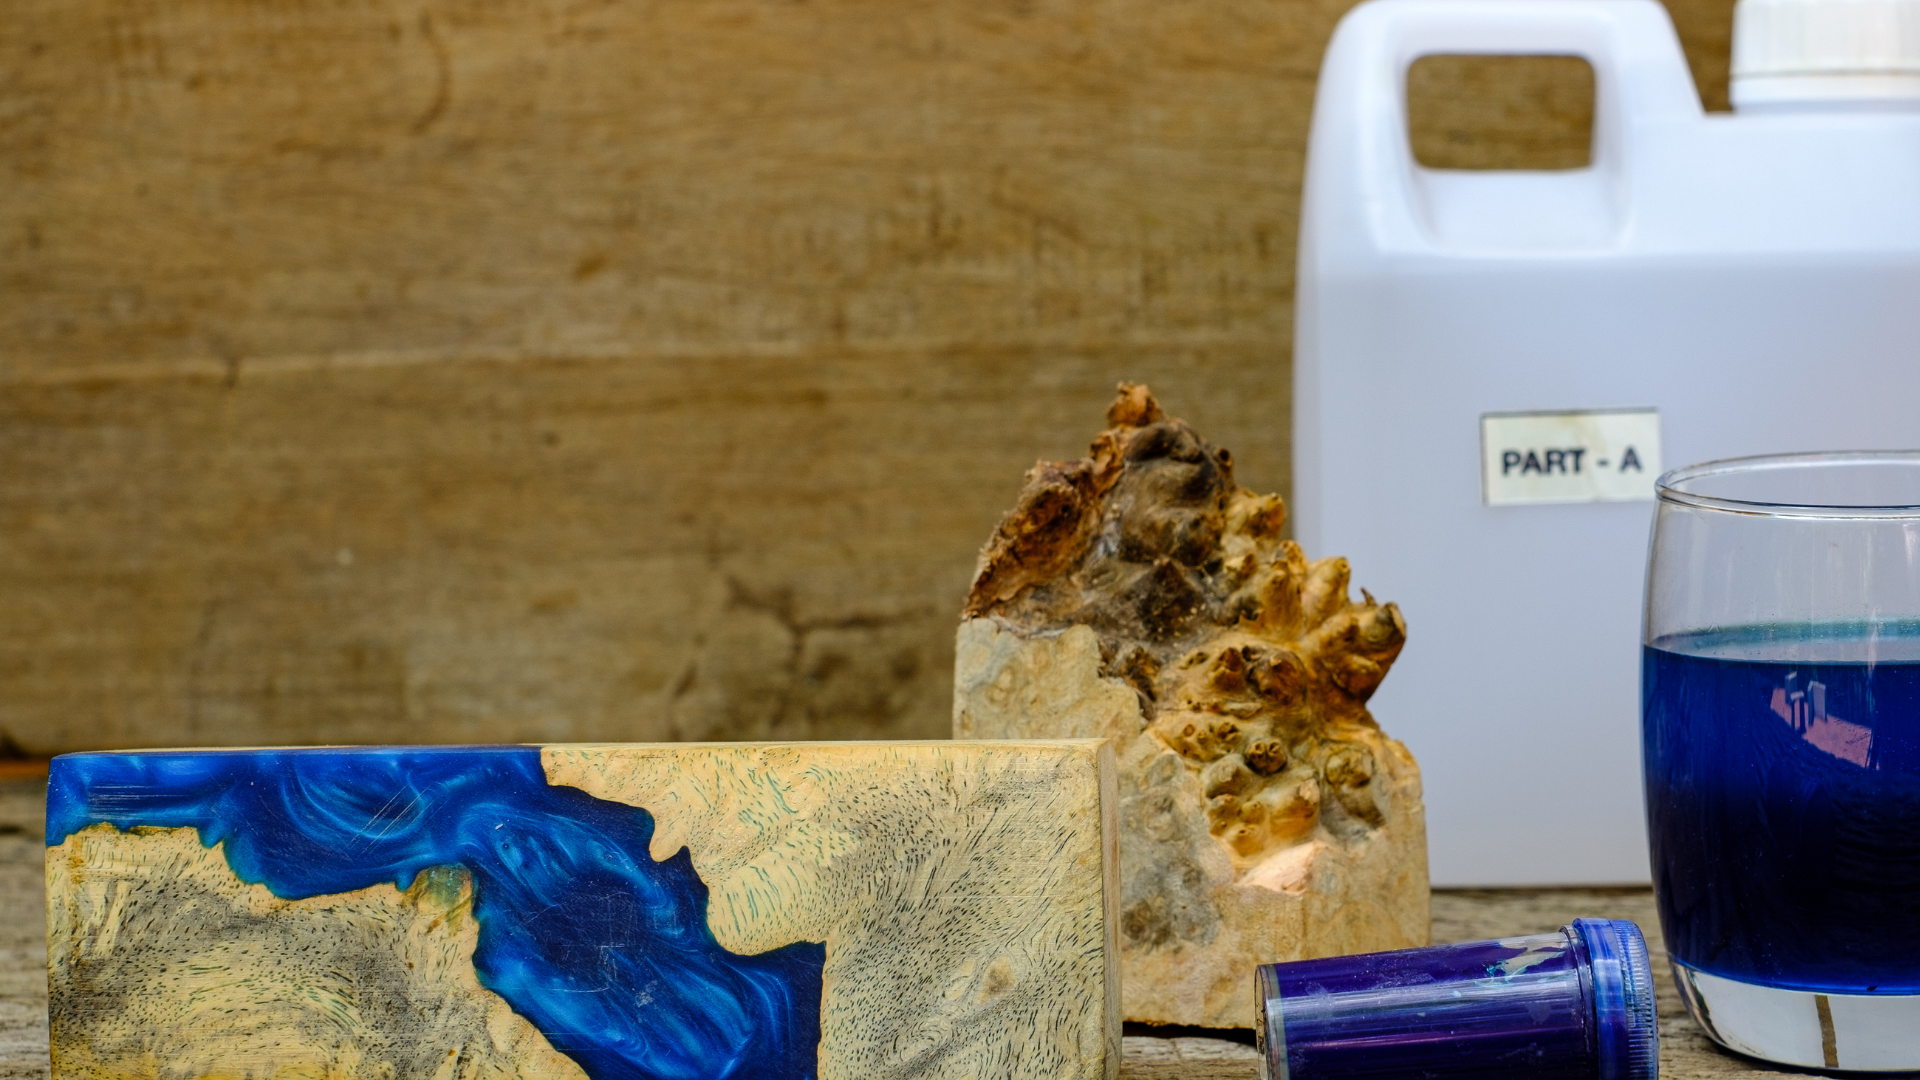
Le vernis transparent EcoPoxy UVPoxy est la meilleure solution pour créer un plan de travail à base blanche, car il ne jaunit pas avec le temps. Vous aurez besoin de pigments liquides blancs et noirs et, si vous le souhaitez, bruns, d’au moins 6 tasses à mesurer jetables, d’un sac de bâtons, d’un rouleau et d’un pinceau. Assurez-vous d’acheter la bonne quantité d’époxy. Je préfère en acheter plus que moins. Référez-vous aux quantités indiquées sur le produit. Quatre litres suffisent généralement pour une cuisine de taille moyenne.
MATÉRIEL NÉCESSAIRE
1. Revêtement transparent époxy UV
2. Pigments de couleur
3. Mastic
époxy 4. Calfeutrage de cuisine
5. Tasses à mesurer
6. Pinceau
7. Ruban de peintre
8. Apprêt
9. Plastique de protection
10. Chiffons
11. Papier de verre
12. Spatule
13. Dégraissant TSP
14. Gants en
vinyle 15. Agitateurs en bois
16. Torche
Step 2: Preparation is Key
NETTOYER LE COMPTOIR
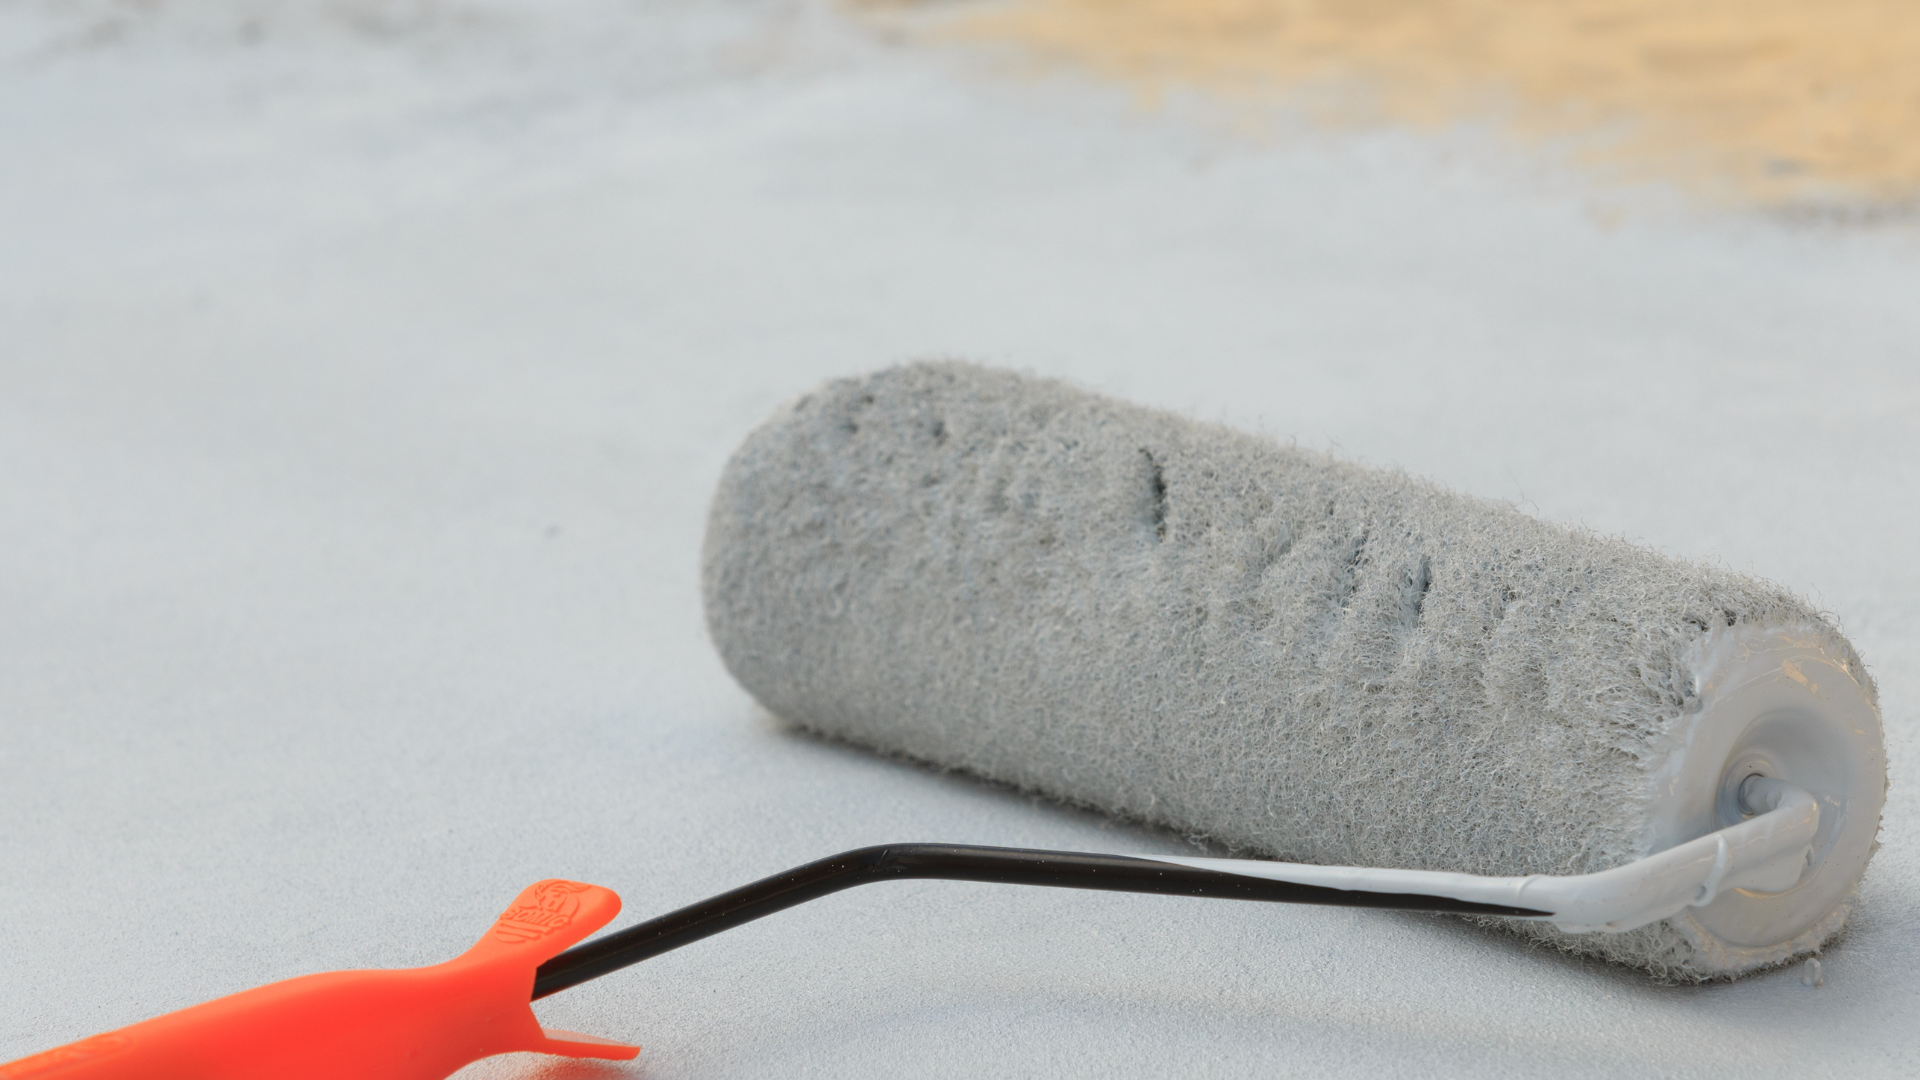
Commencez par nettoyer soigneusement votre comptoir en mélamine pour éliminer toute saleté, graisse ou résidu. Une fois nettoyé, poncez légèrement la surface pour créer une texture rugueuse pour une meilleure adhérence. Essuyez la poussière avec un chiffon humide et laissez le comptoir sécher complètement.
PROTÉGER LES SURFACES
Ne prenez pas cette étape à la légère, elle est très importante ! Vous devrez coller du ruban adhésif tout autour du comptoir et recouvrir le dosseret, l’évier, le robinet, les armoires et le sol de plastique. Utilisez le meilleur ruban de peintre que vous pouvez acheter. Si vous pouvez retirer votre évier, c’est encore mieux. Assurez-vous de ne laisser aucun espace, car l’époxy coulera et tachera tout ce qu’il touchera.
APPLIQUER L’APPRÊT
L’époxy peut être appliqué sur pratiquement tous les types de
matériaux : bois, mélamine, carrelage. L’astuce consiste à bien préparer la surface. Tout d’abord, bouchez les trous éventuels avec un bâton de mastic époxy. Ensuite, poncez l’ancien comptoir avec du papier de verre de grain 220. Enfin, appliquez votre apprêt Benjamin Moore « STIX » , le meilleur pour tous les types de surfaces. Attendez 24 heures.
Step 3: Apply Epoxy
BASE EN MARBRE
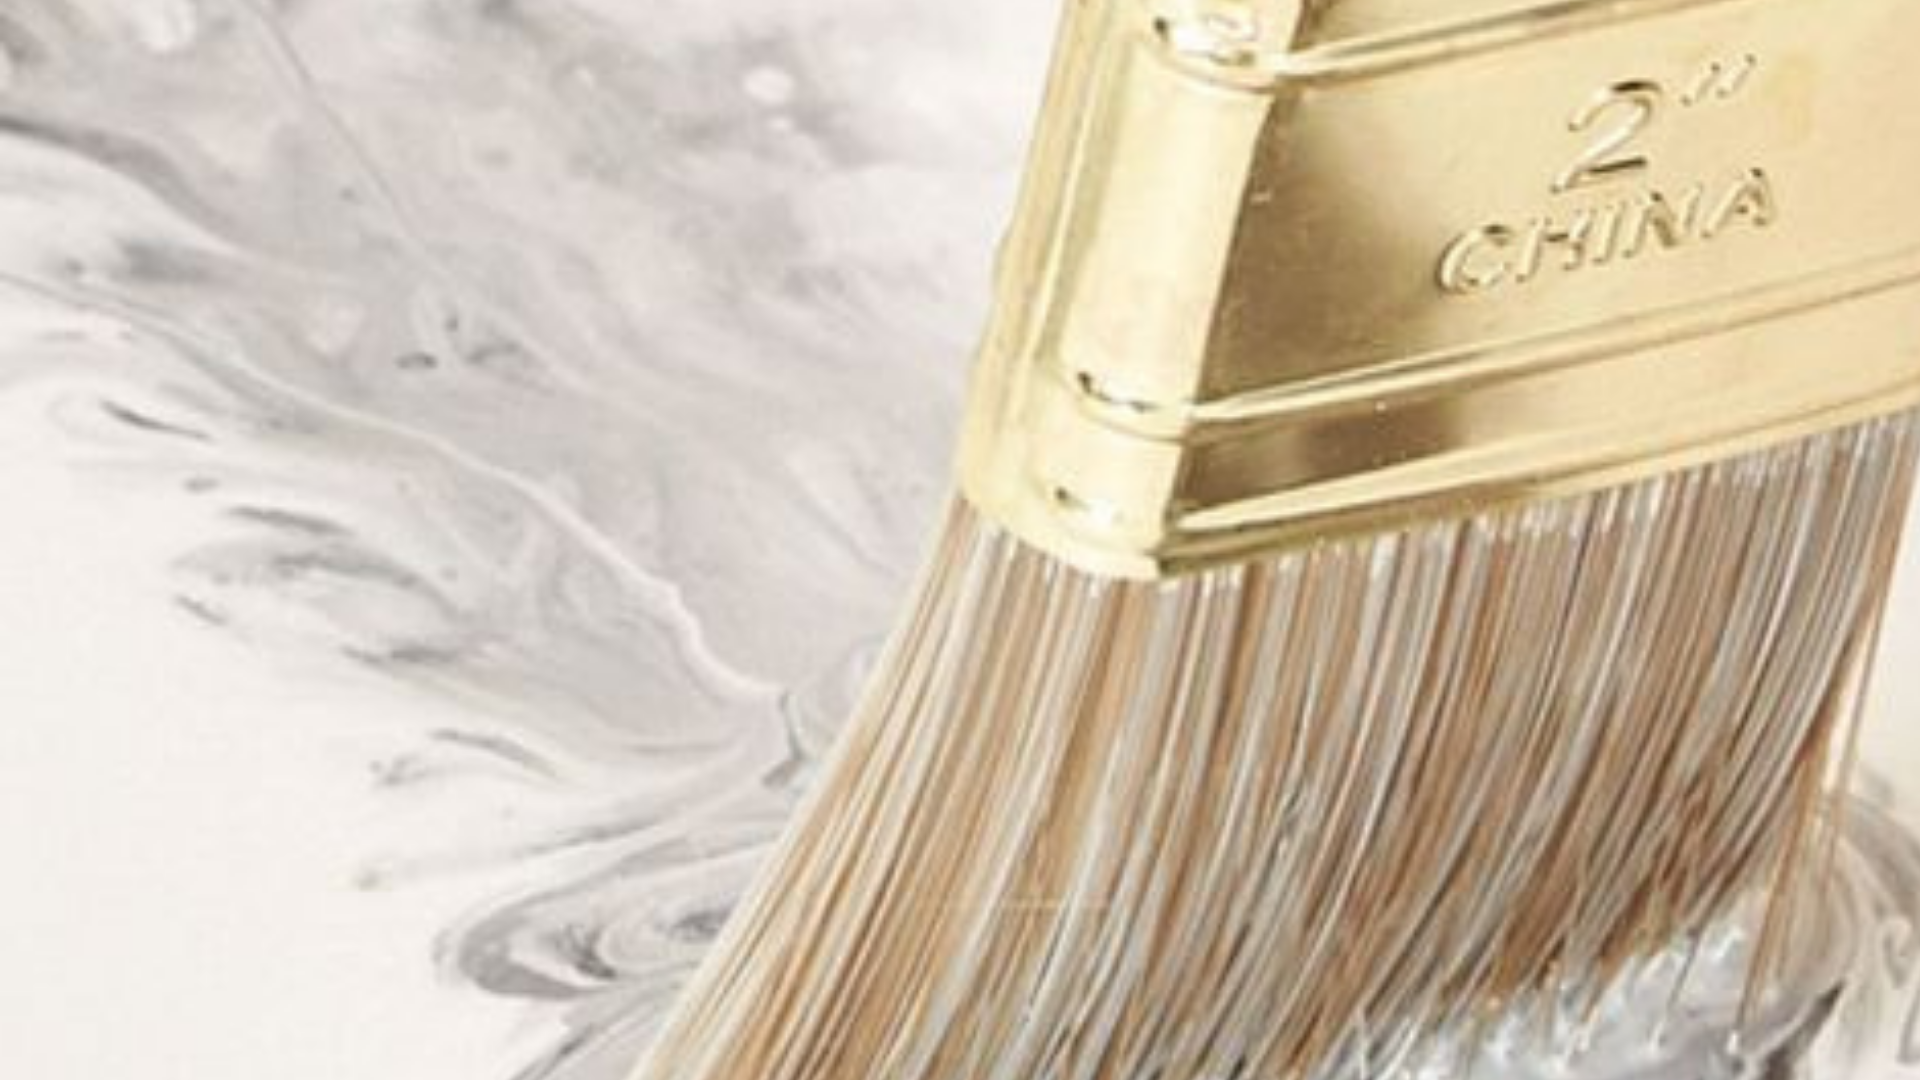
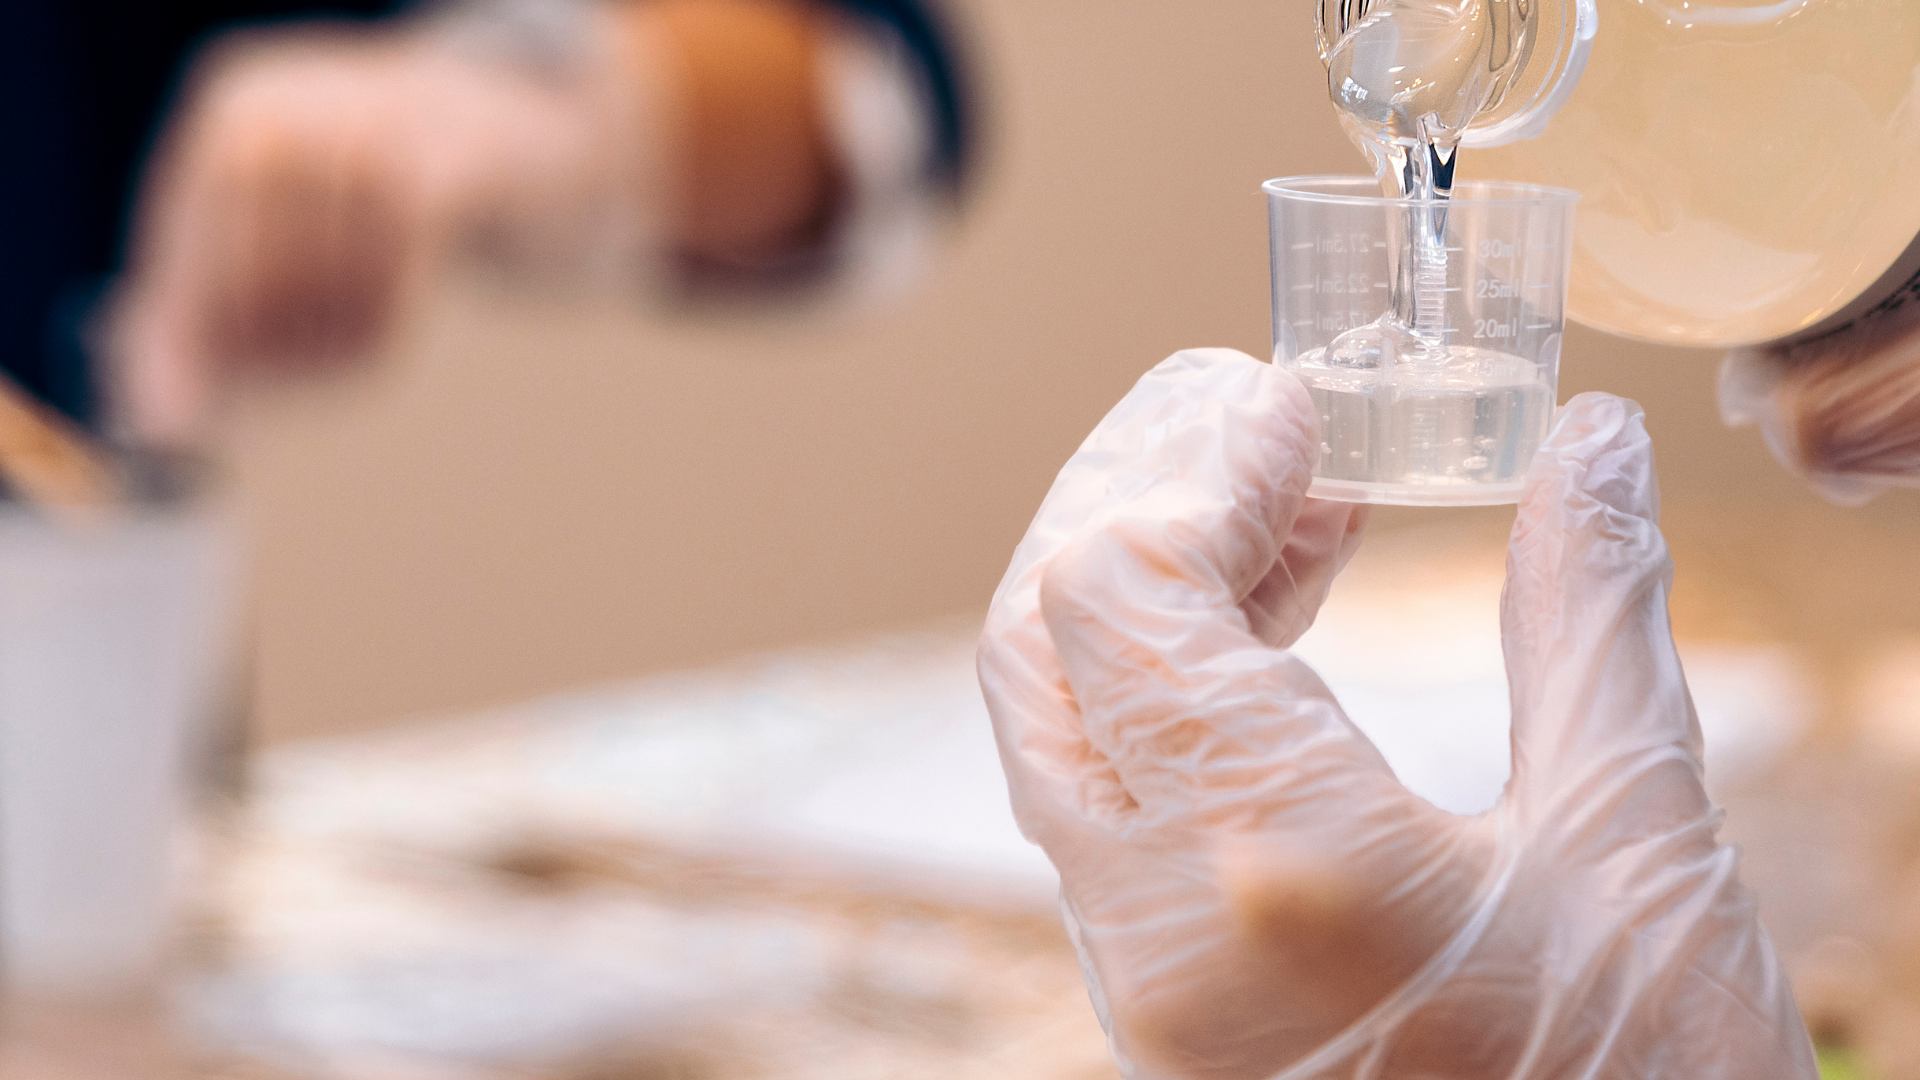
Measure precisely as indicated, otherwise your epoxy will remain sticky. For a marble effect, mix about a liter of epoxy and add the white pigment until it is no longer transparent (about 1/3 of a bottle). Apply the white base to your entire worktop evenly. If you have several countertop sections, work on each section separately.
MARBLE VEINING
After applying the white mixture with a foam roller, prepare another liter of white. Pour about half a cup into three different small cups. Add a few drops of black
to each to create different shades of gray. Don’t apply the epoxy to the edge of the countertop before it starts to stick. If you do, you’ll lose too much product, which will run onto the floor. To create the marble look, drip
the epoxy onto the end of a stick and create diagonal lines with the grey mixes.
BLENDING & TEXTURE
To achieve a more realistic marble effect, lightly blend the veining using a soft brush or sponge. This will help soften the edges and create a natural appearance. You can also add texture by lightly dabbing the surface with a sponge or other textured material. Go over with your white and grey mixture if necessary. Get inspired by the image of a real marble countertop.
Step 4: Final Touches
ELIMINATE BUBBLES
You have approximately 30 minutes to create your design. When you’ve finished, use a ProPane torch at a distance of at least 5 inches. If you get too close, you risk burning the epoxy. Use rapid circular movements to
eliminate bubbles.
NICE EDGES
Then, for at least 2 hours, go around the edges with a stick to remove drips. After 3 hours, using a utility knife, remove the tape around the sink and backsplash, but leave the protective plastic on the cabinets and floor.
CURE & SEAL
Allow the epoxy resin to cure according to the manufacturer’s instructions. Once cured, apply a clear sealant or topcoat to protect the surface and enhance the glossy finish. Follow the recommended drying times for each coat. Usually, you should be able to use your countertops after at least 48 hours. Caulk all joints for a beautiful finish.
An epoxy marble countertop brings the elegance of marble and the resilience of modern materials into perfect harmony.
Unknown
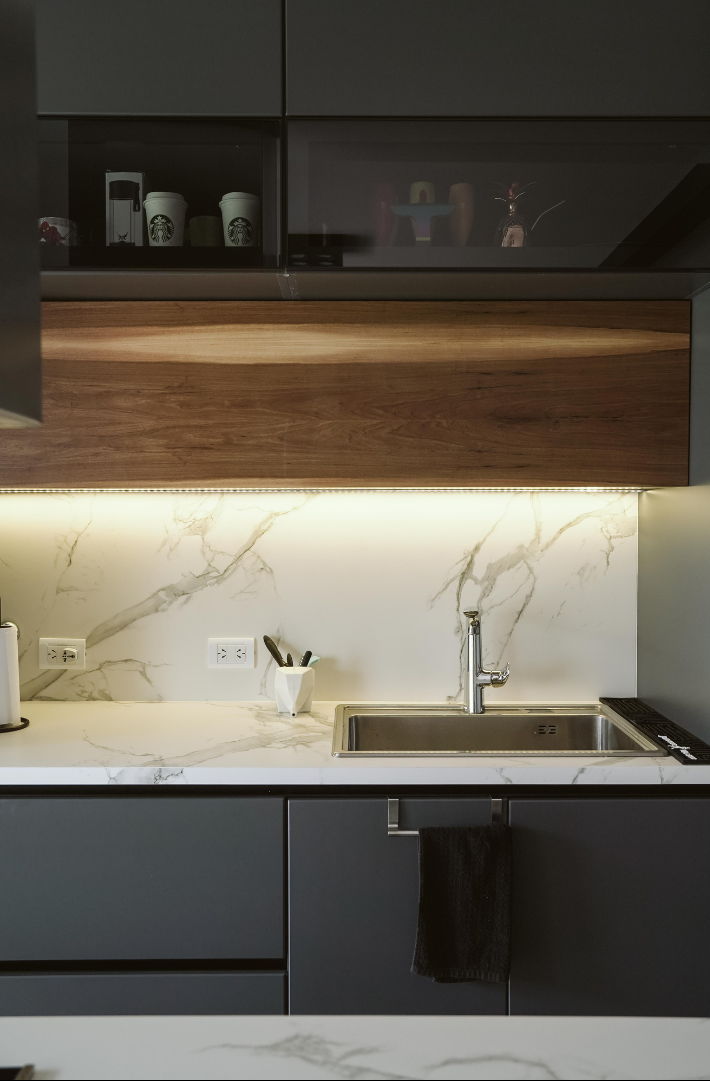
With a bit of creativity and some DIY spirit, you can transform your ordinary melamine countertop into a stunning masterpiece that resembles luxurious marble.
This budget-friendly project allows you to enjoy a high-end look without the highend price tag. Embrace the creative process, and soon you’ll be reveling in the beauty of your newly upgraded countertop.
Want to go even further in your kitchen transformation?
Contact me now for expert design help and bring your vision to life!
